 Beginner
The Best Way to Learn Touch Typing as an Adult (Realistic 30-Day Plan)
Most touch-typing guides are written as if you are a ten-year-old with unlimited free time. As an adult, you probably have twenty spare minutes…


Learning to type without looking at the keyboard sounded impossible to me for years. I still remember the exact moment I realised I typed like a caveman. I was in a video call, screen-sharing, and someone asked me to jot down a quick note while everyone watched. My eyes dropped to the keyboard, my two index fingers started their little hunt-and-peck dance, and I could feel everyone waiting.
I’d been using computers for over fifteen years at that point. Fifteen years! And I still couldn’t type a sentence without staring at my hands like I was defusing a bomb.
That embarrassing thirty seconds is what finally pushed me to learn to type without looking at the keyboard. If you’re reading this, maybe you’ve had your own version of that moment. Good news: learning to type without looking is completely doable, even as an adult, and it’s far less painful than you think. Here’s exactly how I did it.

Touch typing just means typing using muscle memory instead of your eyes. It is a recognised skill with a long history — the standard touch typing method dates back well over a century. Your fingers know where the keys are, so you can look at the screen — or your notes, or the person you’re talking to — while your hands do their thing.
Learning to type without looking at the keyboard is not about typing at 100 words a minute. When you type without looking at the keyboard, speed becomes a side effect. The real goal is simply this: your eyes never leave the screen. Everything good flows from that one change.
And here’s the thing people get wrong — touch typing isn’t a talent you’re born with. It’s a skill, like riding a bike. Awkward at first, automatic later.
Fair question. Plenty of people hunt-and-peck their whole lives and get by. I did, for fifteen years. But “getting by” hides a real cost.
When your eyes are on the keyboard, they can’t be on the screen. So you type a whole sentence, look up, and discover autocorrect turned it into nonsense. You fix it, look down, type more, look up again. That constant up-down is slow and mentally exhausting, even though each glance feels tiny.
Once I could keep my eyes on the screen, two things happened. I caught mistakes as they happened instead of after. And typing stopped taking up brain space, so I could actually think about what I was writing. That second one surprised me the most.
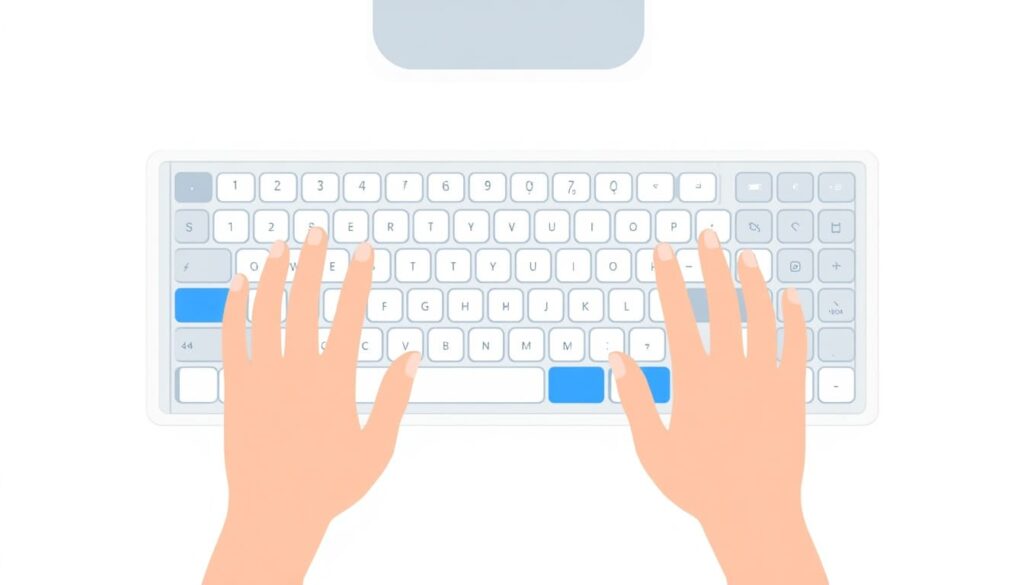
Everything about learning to type without looking at the keyboard starts here, so don’t skip it. The home row is the middle row of letter keys, and it’s where your fingers live when they’re not reaching for anything.
Your left-hand fingers rest on A S D F. Your right-hand fingers rest on J K L ;. Both thumbs hover over the Space bar. If you want to double-check the standard hand position, the QWERTY keyboard layout is the one almost every guide assumes.
Now run your fingertips over F and J. Feel those two little raised bumps? They’re there on purpose — they let your index fingers find home without looking. I used those bumps for over a decade without ever knowing what they were for. Once you know, you can’t unknow it.
The whole trick is this: after every key you press, your fingers come back home. Reach, type, return. Reach, type, return.
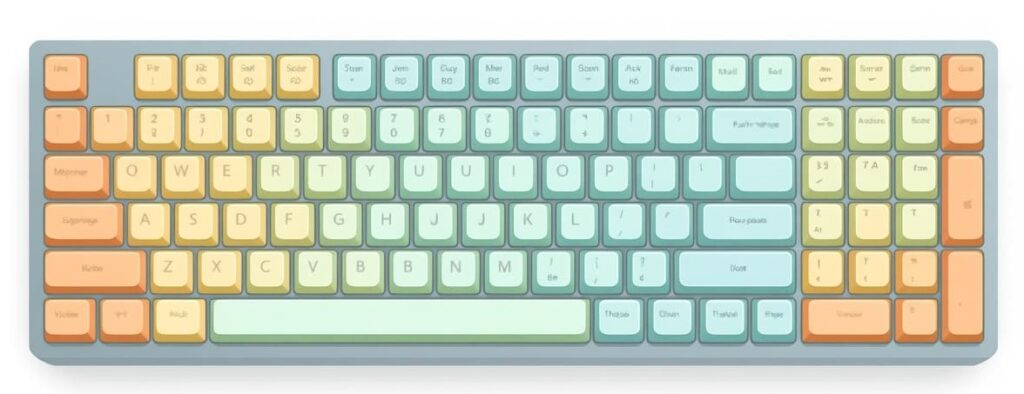
Each finger is responsible for its own little zone of keys. This is the part that feels weird at first, especially if you’ve spent years letting your index fingers do everything.
Here’s the rough map, going by which finger handles which columns:
Notice your index fingers and pinkies do the most work. The index fingers are strong, so that’s fine. The pinkies are weak and clumsy, which is exactly why they’re the ones that’ll frustrate you most early on. That’s normal. Everyone fights their pinkies at the start.
You don’t need to memorise this table. Our typing lessons drill the finger positions one row at a time, which sticks far better than staring at a diagram.
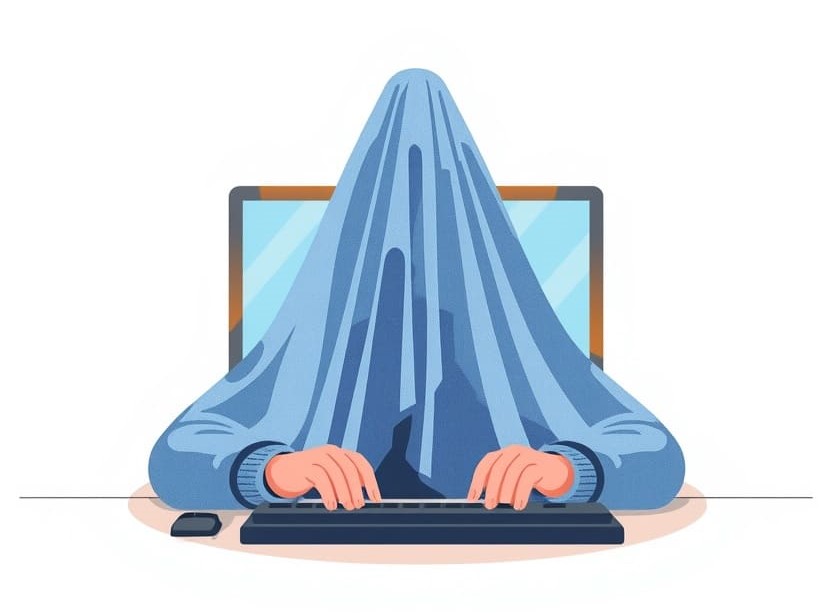
This is the single most useful trick I found for learning to type without looking at the keyboard, and it’s almost stupidly simple: cover your hands while you practice.
Drape a small hand towel over them. Or if your budget stretches to it, keyboards with blank keycaps exist for exactly this reason. The point is to make looking down impossible, because if you can look, you will look. Willpower alone won’t stop you — I tried, and failed, many times.
The first few sessions under the towel feel genuinely awful. You’ll hit wrong keys constantly. Push through it anyway. That flailing is your brain building the map. Within a week it stops feeling like flailing and starts feeling like reaching.
Every beginner’s instinct is to type fast to “keep up.” It’s the worst thing you can do.
When you rush, you fall back on old habits — the index-finger hunt, the downward glance. You’re just practicing the thing you’re trying to unlearn, faster.
So go slow. Painfully slow. Type each letter deliberately, with the correct finger, eyes up. Accuracy first, always. Speed shows up on its own once the movements are automatic — you genuinely don’t have to chase it. When you’re ready to measure, a quick typing test gives you an honest baseline to track.
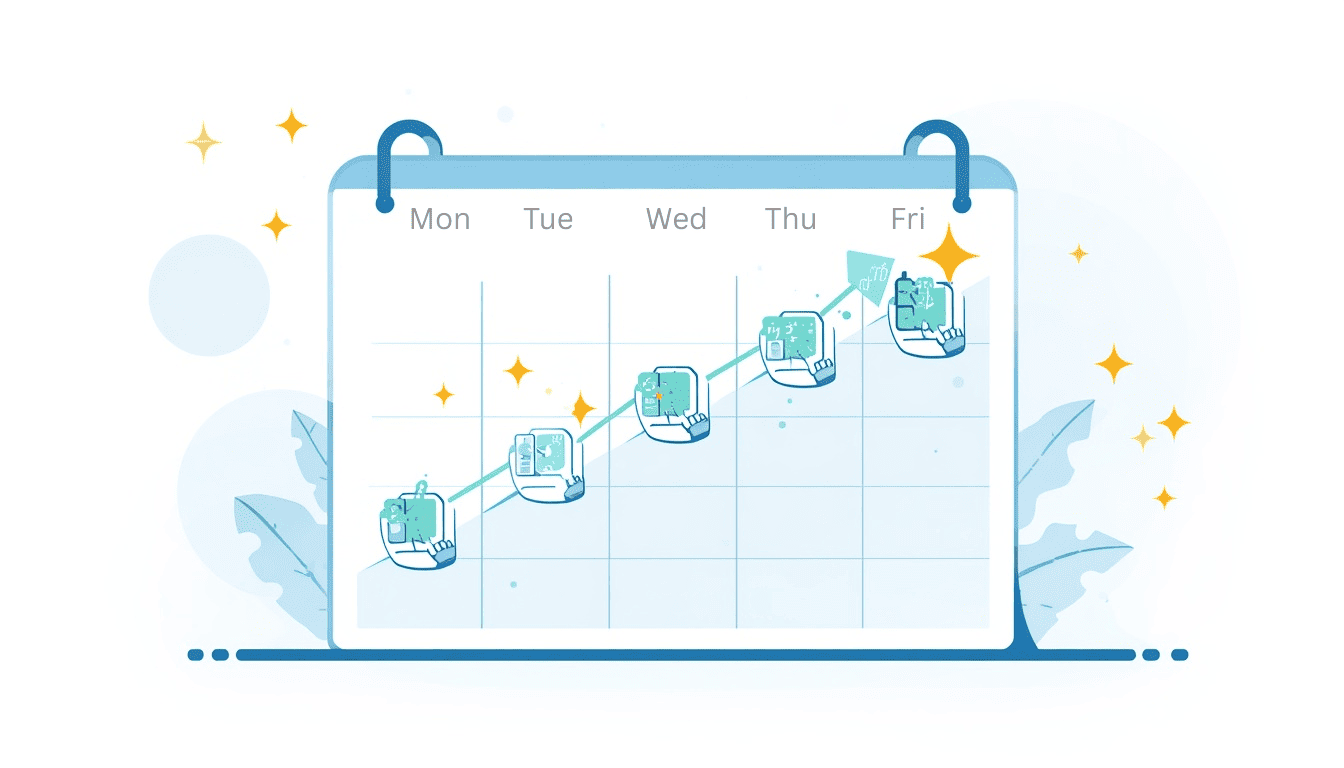
To type without looking at the keyboard, you don’t need an hour a day. You need consistency. Here’s the plan that worked for me:
Days 1–3: home row only. Just ASDF and JKL;. Type them in patterns until your fingers stop searching. Boring? Yes. Foundational? Also yes.
Days 4–7: add the top row. Now reach up for Q through P and come straight back home each time. Keep the towel on.
Days 8–11: add the bottom row. The Z X C row is the most awkward — take it slow and expect your pinky to complain.
Days 12–14: real words. Start typing actual short sentences. This is where it clicks and starts feeling like a superpower.
Fifteen focused minutes a day beats a two-hour cram once a week, every single time. If plain drills bore you to tears, our typing games sneak the same practice in disguised as fun.
Peeking “just this once.” One glance becomes ten. Cover your hands and remove the option entirely.
Chasing speed too early. If you’re making lots of errors, you’re going too fast. Slow down until you’re accurate, then let speed build naturally.
Skipping the home row. I know it’s dull. It’s also the anchor for everything else. Skip it and the whole system wobbles.
Practicing in huge, rare bursts. Your brain builds muscle memory through frequent repetition, not marathon sessions. Little and often wins.
Quitting during the ugly week. Around days 3 to 6 you’ll feel slower than your old hunt-and-peck. That dip is temporary and completely normal. Almost everyone who quits, quits right here — one week before it clicks.
Let’s set honest expectations, because “learn to type in one day” headlines are nonsense. Here’s roughly what the journey looked like for me:
See that dip that isn’t there? In real life there was one — around week one I actually got slower than my old method before the new one took over. The chart smooths it, but your experience won’t. Expect it, and don’t panic when it happens.
By week two I could type without looking at the keyboard — slowly, but my eyes stayed up. By week eight, typing had become invisible — something my hands did while my brain focused elsewhere. That’s the goal, and it’s closer than it feels on day one.
Here’s the part nobody warns you about: the hardest bit isn’t your fingers. It’s your patience.
For the first week you’ll be tempted, constantly, to just go back to the old way to get the email sent. Resist it during practice. Use your old method for real, urgent work if you must — but keep your practice sessions pure, eyes up, hands covered.
I put off learning to type without looking at the keyboard for fifteen years because I assumed it’d be hard and slow. It took about two weeks to feel natural and maybe two months to feel fast. Two months, versus fifteen years of avoiding it. I still think about how much sooner I could have done this.
So don’t be me. Cover your hands, find the bumps on F and J, and take a slow typing test today just to see where you’re starting from. Future you will be genuinely grateful.
Yes, absolutely. Touch typing is a muscle-memory skill, not a childhood-only talent. It took me about two weeks to feel natural as an adult after fifteen years of hunt-and-peck. Consistency matters far more than age — fifteen focused minutes a day is enough.
Most people can keep their eyes on the screen within one to two weeks of daily practice, and reach a comfortable, usable speed in about two months. Expect a frustrating dip in the first week where you feel slower than before — that is normal and it passes.
The home row is the middle row of letter keys: A S D F for the left hand and J K L ; for the right. Your fingers rest there and return after every keystroke. It is the anchor for the whole system, which is why skipping it makes everything else harder.
Those two little raised bumps let your index fingers find the home row by feel, without looking down. Once your index fingers are on F and J, every other finger knows where it belongs. They are the single most useful feature on your keyboard for touch typing.
Accuracy first, every time. Speed is a side effect that appears naturally once the finger movements become automatic. If you rush early, you fall back on old habits and simply practice your mistakes faster. Slow and correct beats fast and sloppy.
Cover your hands. Drape a small towel over them while you practice so looking down becomes physically impossible. It feels awful for the first few sessions, but it forces your brain to build the key map far faster than willpower ever will. Then measure your progress with a typing test.
BeginnerMost touch-typing guides are written as if you are a ten-year-old with unlimited free time. As an adult, you probably have twenty spare minutes…
 Typing Games
There are two very different ways to practise typing, and people often argue about which one is better. On one side sits the classic…
 Technique
Everyone makes typing mistakes. The problem is not the occasional typo — it is the same mistakes, made over and over, that quietly cap…